modifications > UniClutch Track
Why did you install a UniClutch Track on your GRC?
The factory GRC clutch got bad reviews from day one. Compared to my Focus RS with launch control from the factory, the GRC was not built to handle aggressive standing starts. I chalked up most of what I heard on the internet as the latest
generation not really knowing how to drive manual transmissions. A few lucky individuals had their clutches replaced under warranty. I consider the clutch a wear item, so I won't be asking Toyota to fix mine. What was the straw that broke the Camel's
back with my clutch? An E30 tune. Sad to say, I never launched my GRC even once in the 7,300 miles of ownership before the OE clutch started slipping. Stratified Auto dynoed a customer vehicle with similar mods to mine and they acheived 349 wheel horsepower
and 348 lb-ft of torque at the wheels. While Stratified Auto was still perfecting my E30 tune after several iterations, my clutch gave in the towel.
The GRC is still fairly new, but the GR Yaris has been out a little longer for the aftermarket in Europe. Stateside, Clutch Masters sells a few full-faced disc clutches and they also offer a few puck-style. XClutch is also another popular option. I opted
to drive another one of my vehicles while I scoured the internet for a clutch solution. One afternoon I stumbled upon a YouTube video regarding UniClutch. The idea is quite simple, offer a twin-plate clutch that can be adapted to a multitude of vehicles in
order to keep the cost down. Purchase one of the (4) types of clutches in their lineup, then fit it to your vehicle with their provided adapter kit. I was hesitant to stray from the factory dual-mass flywheel in my GRC. Ditching it and going to
a single-mass flywheel would add NVH to the drivetrain, especially a "rocks in a tumbler" noise at idle with the clutch disengaged.
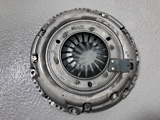
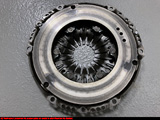
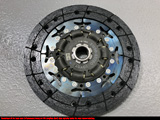
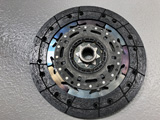
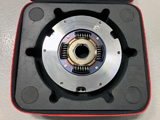
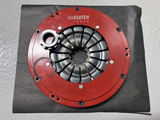
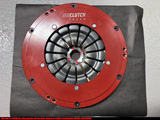
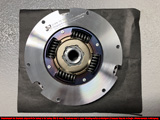
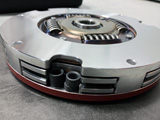
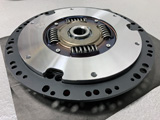
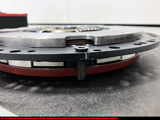
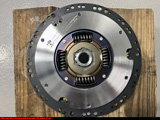
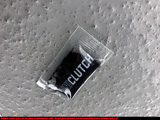
The UniClutch design has (4) patents associated with it. They include springs between the twin plate setup. Your factory flywheel is no longer used as a friction surface. Inside the UniClutch there are several friction surfaces that are used instead.
In the near future, UniClutch may offer a lightened flywheel option. Keep in mind the UniClutch kit is a bit heavier than the OE clutch (3.6 lb). For those that keep their dual-mass flywheel like I did, no machining is required. Installation is very simple.
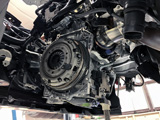
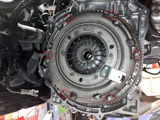
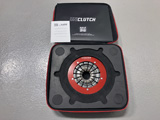
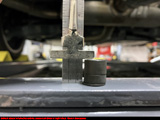
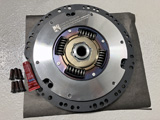
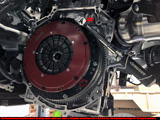
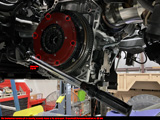
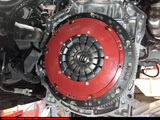
No clutch alignment tool is needed. Take the UniClutch out of the box, follow the instructions for proper installation of the flywheel ring, then bolt the clutch kit up to my factory flywheel using the original pressure plate bolts.
Although UniClutch offers (4) variants of clutches (UniClutch, UniClutch Sport, UniClutch Track, and UniClutch 4Terrain, they only recommend their Track version for the GRC due to the AWD drivetrain. UniClutch Track is rated up to 980 lb-ft of torque at the flywheel.
For more information:
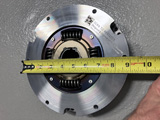
- UniClutch Track (195mm core)
- UniClutch Fitment Kit (195mm core)
Date Completed:
12/01/24
Materials: (All OE Parts from Toyota.OEMPartsOnline.com)
- UniClutch Track #UC0821200 (UniClutch.com)
- UniClutch Fitment Kit, #UCFK08275-A-002 (UniClutch.com)
- Part #08885-03206 OE transmission fluid 75W (Qty 2L)
- Part #08885-02906 OE transfer case fluid 75W85 (Qty 1L)
- Part #90080-17238 OE front axle hub nuts (Qty 2)
- Prestone 12oz Dot 4 Synthetic brake fluid (O'Reilly Auto)
- M8x1.25 bolt for brake rotor (junk drawer)
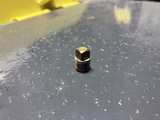
- Small brass pipe plug for clutch flex line (junk drawer)
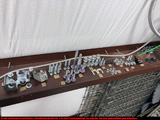
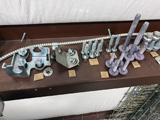
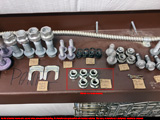
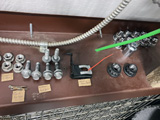
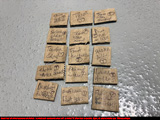
- Cardboard for marking fastener group labels (random box)
- Something soft between GRC transmission and transmission jack
- Jack oil to top off the hydraulic transmission jack
- Ziplock bag to catch weeping clutch flex line
- Brake cleaner for GRC flywheel / transmission
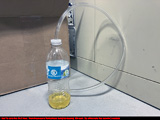
- Plastic water bottle for bleeding clutch
- Permatex blue for Pitch Mount
- (2) Cotter pins for tie-rods
- Zipties for calipers
- 6x6" wooden blocks
- Loctite 243
- Shop towels
- Paint pen
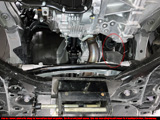
- Pen
Tools:
- 1/4" drive ratchet with multiple extensions and sockets (7mm, 10mm, 12mm)
- 3/8" drive ratchet with multiple extensions, swivel, and sockets (5mm hex, 10mm Crow's foot, 10mm hex, 12mm deep, 14mm, 14mm deep, E10)
- 1/2" drive ratchet with multiple extensions and sockets (19mm, 21mm, 22mm)
- Combination wrenches (8mm, 2x 10mm, 16mm, 17mm, 18mm, 21mm, 24mm)
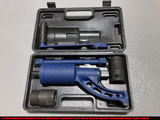
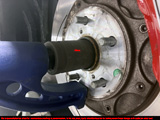
- 1" drive torque multiplier with socket (33mm)
- 1" drive torque wrench (200-600 lb-ft)
- 1/2" drive torque wrench (50-250 lb-ft)
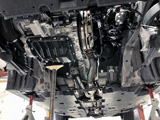
- 3/8" drive torque wrench (10-75 lb-ft)
- 1/4" drive torque wrench (40-200 in-lb)
- 1/2" breaker bar + cheater pipe
- 9,000 lb 4-post lift (optional, but highly recommended!)
- x,xxx lb old hydraulic transmission jack
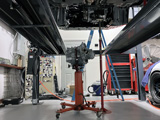
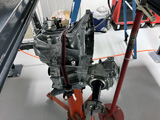
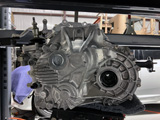
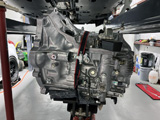
- 1,500 lb tall jack stands (x2)
- Chinesium jack + jack stands
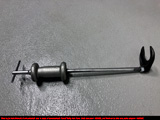
- O'Reilly Auto Parts rental tool #67102 (fwd axle puller) + #67031 (slide hammer)
- Rolling oil drain cart to catch transfer case + transmission fluid
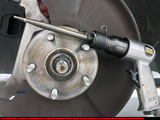
- Chinesium air impact hammer + small tip for de-staking axle nuts
- Channel locks for removing passenger front axle carrier bearing snap ring
- Rechargeable headlamp w/soft strap = Coast XPH30R 1200 Lumen (Amazon)
- Hand pump + funnel + hoses for filling transfer case and transmission
- Friend for bleeding clutch and pressing brake pedal
- Flat-blade screwdrivers (small and large)
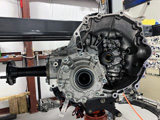
- Gloves (both leather and nitrile)
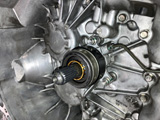
- BFH for smacking things
- Small and large punches
- Needle nose pliers
- Circlip pliers
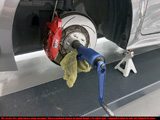
- Ratchet strap
- Scissors
Notes:
1. Several wiring connectors/plugs need to be temporarily disconnected (battery negative, MAF, transmission reverse switch, neutral switch, grounds, etc.).
2. Note this installation is slightly different than a stock GRC because I already have an Eventuri intake installed. Your mileage may vary.
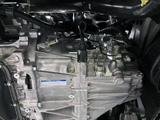
3. Transfer case does not get removed individually. Leave all the bolts/nuts tight. Transfer case comes out attached to the transmission.
4. I purchased but did not change any of the axle seals (transmission/transfer case) because they were not damaged, and my GRC only had 7,218 miles on it.
5. Scan bar code on the UniClutch assembly to register the product. Scan adapter kit bar code for specific instructions to build UniClutch for the GRC.
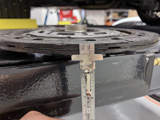
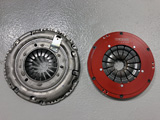
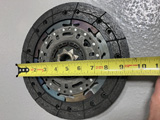
6. Weights = OE pressure plate + clutch disc = 13.4 lb. UniClutch + adapter ring = 17.0 lb. Added weight = 3.6 lb.
7. Immediately after clutch install is complete, get an alignment because the front suspension and steering are all out of whack now.
8. UniClutch calls for a 500 km clutch break-in period. That's 310 miles for us yanks.
9. Steps & torque specs were pulled from GRC Manual on TIS. Yes I downloaded the entire manual, and no you can't have a copy.
10. Reversible back to stock (if needed).
Removal:
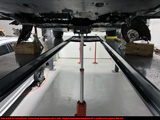
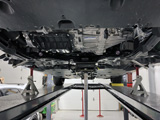
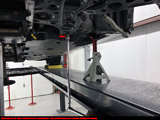
1. Put GRC up on a 2 or 4-post lift.
2. Disconnect battery negative terminal. (10mm)
3. Loosen front lug nuts. (21mm + wheel lock in my case)
4. Jack up front end and place high up on jack stands.
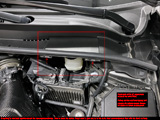
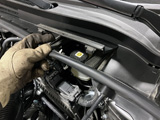
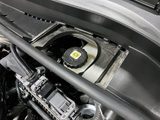
5. Pop hood and remove intake box. In my case, remove Eventuri front section. (7mm, 2x 10mm combination wrenches)
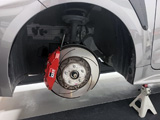
6. Remove front wheels/tires.
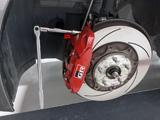
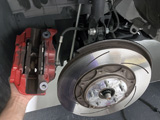
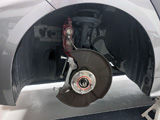
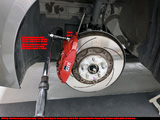
7. Remove front brake calipers. Temporarily attach each brake caliper to front strut spring with zipties. (17mm)
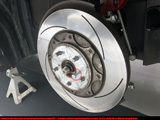
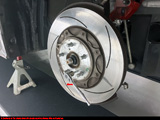
8. Remove front brake rotors. Thread M8 x 1.25 bolt into front face of rotor if it's stuck. (13mm)
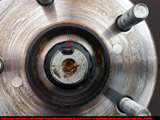
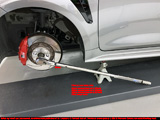
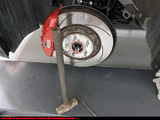
9. Remove front axle hub nuts. De-stake each nut! I used an air hammer. Have friend push brake pedal or use torque multiplier. (33mm)
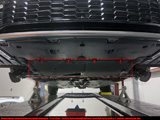
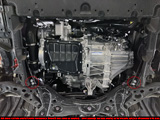
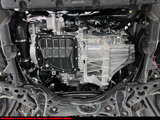
10. Remove rear undertray below the engine/transmission. (10mm + flathead screwdriver)
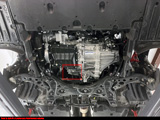
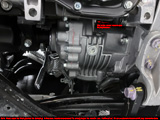
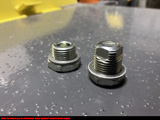
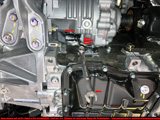
11. Drain the transfer case. Open the fill plug, then the drain plug. (10mm hex)
12. Drain the transmission. Open the fill plug, then the drain plug. (24mm + 21mm, 22mm)
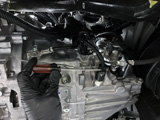
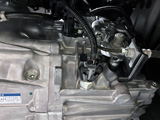
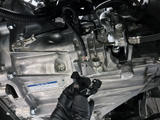
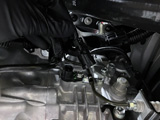
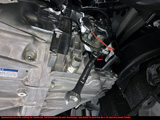
13. Remove factory wiring harness from front of transmission. (10mm, 12mm, flatblade screwdriver)
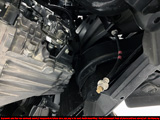
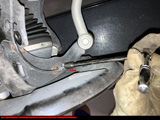
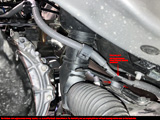
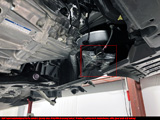
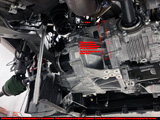
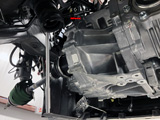
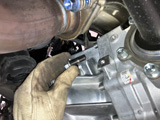
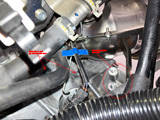
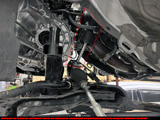
14. Disconnect clutch flexible line from hard line on front of transmission. (10mm, 18mm, flatblade screwdriver)
15. Put temporary brass pipe plug in flexible clutch line or use pinch-off pliers.
16. Remove clutch line bracket. (12mm)
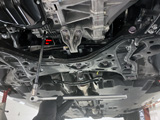
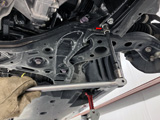
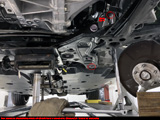
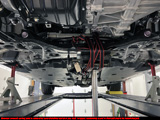
17. Disconnect side braces from front subframe. Pass side stays in for intercooler piping. Driver side comes out. (14mm)
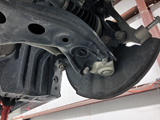
18. Remove (2) nuts and (1) bolt from each lower front suspension a-arm at bottom of knuckle. (17mm)
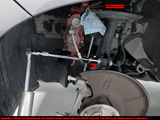
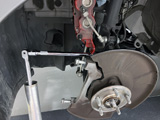
19. Disconnect each front swaybar lower endlink. Remove nut. (17mm + 16mm, 6mm hex if it turns)
20. Back out passenger front axle carrier bearing (bottom) setting bolt. (13mm)
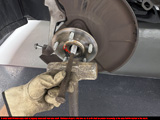
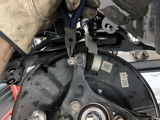
21. Remove passenger front axle carrier bearing snap ring. Leave hanging. (channel locks)
22. Remove transfer case heat shield. (12mm)
23. Mark driveshaft. Remove nuts/washers from driveshaft at transfer case output flange. (14mm)
24. Remove pitch mount from transmission. (14mm, 22mm)
25. Mark each front hub for reassembly of notch for staking.
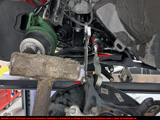
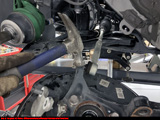
26. Tap each front axle with a BFH and chisel to break loose from hub.
27. Remove (2) strut pinch bolts w/nuts from each side. (22mm, backup wrench if needed)
28. Remove front ABS sensor from each knuckle. (10mm)
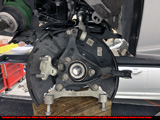
29. Remove front hubs, leave on wood blocks for now. Tie-rods still connected to steering.
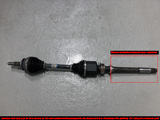
30. Front passenger axle shaft is easily removed from transmission/transfer case. Don't damage axle seal.
31. Remove passenger front axle carrier bearing bracket. (14mm)
32. Remove rear oxygen sensor bracket and wiring harness from front subframe. (10mm, flatblade screwdriver)
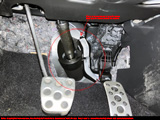
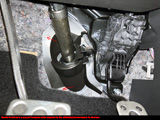
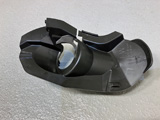
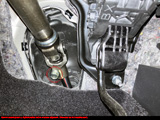
33. Climb inside GRC cabin and remove steering shaft column hole cover silencer sheet.
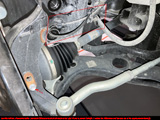
34. Put reference marks on the steering shaft before removing pinch bolt. (14mm)
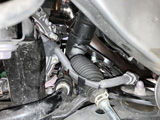
35. Separate steering shaft from rack. Careful, sharp edges!
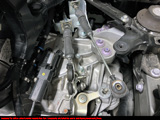
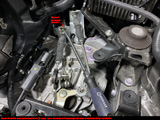
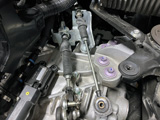
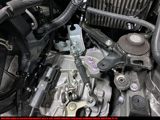
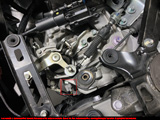
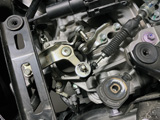
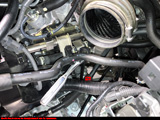
36. Underhood, disconnect both shifter cables from top of transmission. (flatblade screwdriver)
37. Before removing shifter cables, put reference mark on (1) shifter cable and bracket.
38. Remove bolt from rear oxygen sensor harness bracket next to shifter cable bracket. (10mm)
39. Disconnect (3) rear oxygen sensor harness tabs from top of front subframe. (flatblade screwdriver)
40. Unplug the transmission sensor in front of the shifter assembly. Hard to reach underneath.
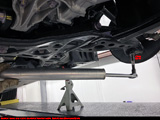
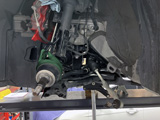
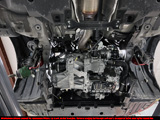
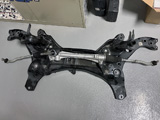
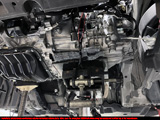
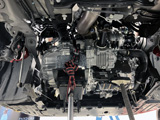
41. Put a hydraulic transmission jack under the front subframe.
42. Remove the front (2) bolts from the front subframe. (19mm)
43. Remove cotter pin from each front tie-rod castle nut. (needle nose pliers)
44. Remove tie-rod castle nut. (17mm + BFH)
45. Tap each front knuckle to release the tie-rod. (BFH)
46. Remove the rear (2) bolts from the front subframe. (19mm)
47. Put a ratchet strap over the front subframe to hydraulic transmission jack.
48. Check the clutch flexible line. If it's leaking brake fluid, address the situation.
49. Wrap a strap around the driver side front axle to keep it from drooping.
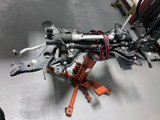
50. Lower the front subframe on the hydraulic transmission jack.
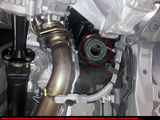
51. Remove downpipe bracket stud from the bracket on top of the transmission. (14mm, E10 stud)
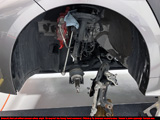
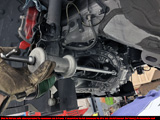
52. Use O'Reilly Auto Parts rental tools #67031 + #67102 to remove the driver side front axle.
53. Start removing transmission bolts. Passenger side bolt below the transfer case. (14mm)
54. Remove driver side transmission bolts. (2) lower, (2) starter bolts. (14mm)
55. Put hydraulic transmission jack under transmission. Use something soft between jack and aluminum transmission case.
56. Use ladder to gain access underhood again on the 4-post lift. Remove top transmission bolts. (14mm)
57. Remove downpipe bracket from top of transmission. (14mm)
58. Put tall jack stand under block beneath front passenger axle carrier bearing bracket location (upper oil pan).
59. Put a ratchet strap over the transmission to the transmission jack. Go UNDER all the wiring harnesses and other stuff up top.
60. Climb up the ladder and remove bolts from the upper transmission mount. (12mm)
61. While up there, remove the transmission cable bracket. (12mm)
62. At this point driveshaft needs slack to disconnect from transfer case output flange.
63. Loosen the driveshaft center carrier bearing mount bolts. (17mm)
64. Phone a friend. Driveshaft will need to be pushed rearward to disconnect from transfer case output flange.
65. Push transmission over to favor driver side so input shaft clears the factory clutch. Then go down with transmission jack.
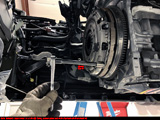
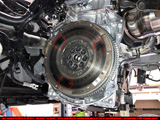
66. Remove factory pressure plate bolts. Will re-use them with UniClutch. (12mm)
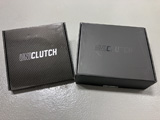
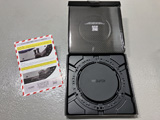
67. Open UniClutch packaging. Scan barcode on back of UniClutch assembly to register product.
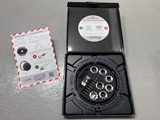
68. Choose correct spline from UniClutch kit. Test fit on factory transmission input shaft.
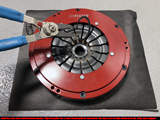
69. Install spline into UniClutch assembly. Install circlip. Verify it is seated.
70. Install correct spacer stack on UniClutch assembly to accept the flywheel adapter ring.
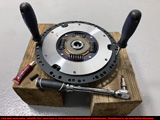
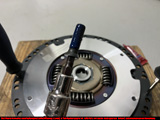
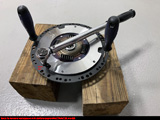
71. Install flywheel adapter ring on UniClutch assembly with spacers + flat head socket capscrews. Use Loctite 243. (5mm hex)
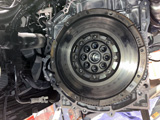
72. Install UniClutch with adapter ring on factory GRC flywheel. "E1" holes on adapter ring line up with flywheel dowels.
73. Install factory pressure plate bolts in UniClutch adapter ring on factory flywheel. (12mm)
74. Check assembly torque of UniClutch assembly per their instructions. (5mm hex)
75. Before reinstallation of the transmission, the driveshaft needs more slack to prevent binding on the transfer case output flange.
76. Remove the side undertrays adjacent to the driveshaft. (10mm, small/large flatblade screwdrivers)
77. Remove center brace bolts (rear), and loosen center brace bolts (front). (12mm)
78. Remove the heat shield for access to the driveshaft center carrier bearing bracket. (fingers on plastic nuts)
79. Remove the driveshaft center carrier bearing bracket. Let the driveshaft rest on exhaust hangers. (17mm)
80. Use grease provided by UniClutch to lubricate the factory transmission input shaft.
Installation:
Note: I torque 33%, 66%, 100%, then ring fasteners again.
1. Raise transmission + transfer case back into position. Good luck finding the angle to stab the input shaft.
2. Transmission (5 small bolts = 11,22,34 lb-ft), (2 larger bolts up top = 16,31,47 lb-ft).
3. Starter (2 bolts = 11,22,34 lb-ft).
4. Transmission upper mount (4 bolts = 13,25,38 lb-ft).
5. Downpipe to transmission top bracket (2 bolts = 11,21,32 lb-ft), Stud = hand tight, (1 nut = 11,21,32 lb-ft).
6. Transmission shifter cables top bracket (3 bolts = 13 lb-ft).
7. Transmission shifter cable bracket clips (x2), washer (x1), small cable end clips (x2).
8. Transmission top wiring bracket for rear oxygen sensor (7 lb-ft = 84 in-lb).
9. Match reference mark. Driveshaft to transfer case (4 nuts/washers = 18,36,54 lb-ft).
10. Driveshaft center carrier bearing. Bracket must be perpendicular to driveshaft. (2 bolts = 9,18,27 lb-ft).
11. Driveshaft center carrier bearing heatshield (2 plastic nuts hand tight).
12. Center brace below driveshaft (8 bolts = 17,34,52 lb-ft).
13. Both side undertrays adjacent to the driveshaft (5-6 bolts hand tight, bunch of plastic clips).
14. Transfer case heat shield (2 bolts = 18 lb-ft).
15. Passenger front axle shaft carrier bearing bracket (3 bolts = 16,31,47 lb-ft).
16. Wiring harness, sensor connectors, grounds, etc. on the transmission. (one 12mm bolt = 15 lb-ft, two 10mm bolts = 7 lb-ft).
17. Raise front subframe back into place. Maintain clearance for steering shaft into firewall boot without damage.
18. Tighten front subframe (4 bolts = 34,69,104 lb-ft).
19. Re-connect steering shaft inside cabin to steering rack. (1 bolt = 16,31,47 lb-ft).
20. Steering shaft cover inside cabin.
21. Driver side knuckle to lower a-arm (2 nuts + 1 bolt = 22,44,66 lb-ft).
22. Driver side front axle. Take care to not tear the transmission seal. Make sure to push/feel click of spring clip.
23. Driver side tie-rod (1 castle nut = 12,24,36 lb-ft). Tie-rod points down and inserts from top of knuckle. Install new cotter pin.
24. Driver side ABS sensor into knuckle (1 bolt = 75 in-lb).
25. Driver side sway bar lower end link (leave finger loose until all 4 wheels of GRC are on the ground).
26. Driver side front brake caliper (leave 2 bolts finger loose for now).
27. Match reference mark on hub. Driver side front axle nut (leave finger loose for now).
28. Passenger side knuckle to lower a-arm (2 nuts + 1 bolt = 22,44,66 lb-ft).
29. Passenger side front axle. Push into carrier bearing, then into transfer case and transmission. Don't damage axle seal.
30. Passenger side front axle carrier bearing (1 bottom setting bolt = 8,16,24 lb-ft).
31. Passenger side tie-rod (1 castle nut = 12,24,36 lb-ft). Tie-rod points down and inserts from top of knuckle. Install new cotter pin.
32. Passenger side ABS sensor into knuckle (1 bolt = 75 in-lb).
33. Passenger side sway bar lower end link (leave finger loose until all 4 wheels of GRC are on the ground).
34. Passenger side front brake caliper (leave 2 bolts finger loose for now).
35. Match reference mark on hub. Passenger side front axle nut (leave finger loose for now).
36. Side braces to front subframe (4 bolts per side = 17,34,52 lb-ft).
37. Pitch mount to transmission (4 bolts = 11,21,32 lb-ft).
38. Pitch mount to front subframe (1 bolt + Permatex blue = 38,76,115 lb-ft).
39. Clutch slave cylinder bracket to transmission (1 bolt = 15 lb-ft).
40. Clutch flexible line to hard line (1 flare nut = Crow's foot 144 in-lb). This is critical to not leak.
41. Rear oxygen sensor bracket to front subframe (1 bolt = 7 lb-ft).
42. Rear oxygen sensor harness clips to front subframe (several).
43. Intake piping with MAF sensor. Leave front intake box (or Eventuri) off for now.
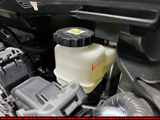
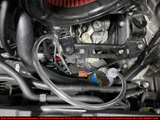
44. Phone a friend. Bleed clutch with help from friend. Press clutch 5 times, hold down, open bleed screw. Close bleed screw. Repeat as necessary.
45. Keep friend to hold brake pedal down to torque front brake calipers (22,50,74 lb-ft).
46. Friend still holding brake pedal down to torque front axle nuts(72,143,217 lb-ft). Then stake each nut.
47. Friend can go home now.
48. Front intake box (or Eventuri in my case).
49. Driver side knuckle pinch bolts to strut (2 bolts w/nuts = 66,131,199 lb-ft).
50. Passenger side knuckle pinch bolts to strut (2 bolts w/nuts = 66,131,199 lb-ft).
51. Front wheels/tires (4 lugs, 1 wheel lock = 76 lb-ft dry or 57 lb-ft w/anti-seize).
52. Jack up the GRC, remove the jack stands. Lower to ground.
53. While still on the 4-post lift, torque front swaybar lower endlink nuts (18,36,55 lb-ft).
54. Torque transfer case drain (1 plug = 10,19,29 lb-ft).
55. Torque transmission case drain (1 plug = 10,19,29 lb-ft).
56. Fill transfer case until fluid comes out fill hole. Do not overfill. Wait 5 mins. Torque case fill (1 plug = 10,19,29 lb-ft).
57. For the transfer case, I used a manual fluid hand pump that fit into top of bottle.
58. Fill transmission until fluid comes out fill hole. Do not overfill. Wait 5 mins. Torque trans fill (1 plug = 10,19,20 lb-ft).
59. For the transmission, I ran a hose from above the intake down to the fill plug. Pour S-L-O-W.
60. Reconnect battery negative cable. Climb in through the back seat. LOL.
61. Follow the UniClutch break-in process. See notes section (#8) above.








|

